

Using K8s ConfigMaps to setup Backup and Restore for a container
Walkthrough on using K8s ConfigMaps to decouple lifecycle operations away from the application code


In this article, we are going to walk through how Kubernetes ConfigMaps can be leveraged to set up lifecycle operations like Backup and Restore for a container.
What is ConfigMaps?
A Kubernetes ConfigMap is an API Object that can be defined at the cluster level to store data in key-value pairs. Simply put ConfigMaps allow you to separate out application code and configuration so as to keep containerized applications portable.
Some of the common use cases for leveraging ConfigMaps:
- Inject configuration files, environment values, and command-line arguments to your pods at runtime to perform bootstrap operations, etc
- ConfigMaps objects are reusable across the cluster, hence avoiding code deduplication.
Important:
- ConfigMaps are helpful for packaging non-sensitive, unencrypted data. If the data you want to store is confidential use a Kubernetes Secret rather than a ConfigMap.
- ConfigMaps should not be used to store large chunks of data. Their size is limited to 1 MiB.
Pre-Requisites:
- You need to have a Kubernetes cluster and the kubectl command must be configured to communicate with your cluster.
We will see how to configure a simple Backup and Restore Procedure for Deployment using ConfigMap objects. For this exercise, we will be using MySQL Database as the container as a sample. The objective is hence to take scheduled point-in-time backups of the database and then perform a restore from the existing available backups thereby completing a successful Disaster Recovery Scenario.
Note: Keep in mind the container app chosen (MySQL) here is strictly for this tutorial and the same principle can be utilized for other apps and containers as well.
Lets Begin:
As listed in the prerequisites section we are going to be needing a live-running Kubernetes API Cluster to manage your deployments. Make sure the kubectl commands are available and properly configured to your k8s cluster.

You will need to have the basic application container setup in Kubernetes. We have chosen to go with the MySQL database. The container Image for MySQL DB can be found here docker/mysql.
Containers as such in Kubernetes are ephemeral- meaning the data inside the container stays only for the duration the container is up and is immediately wiped clean in the event of a deployment failure or pod exit etc. So for just about any Stateful applications you are surely going to need a Persistent Storage which we will define using Persistent Volume’s within the Kubernetes cluster. If you are familiar with K8s you must already be aware of Deployment and Service. These objects help maintain the container and expose the workloads for communication within the cluster respectively. Use the below configuration to do a basic setup of the MySQL Deployment.
deployment.yaml
apiVersion: apps/v1
kind: Deployment
metadata:
  name: mysql
spec:
  selector:
    matchLabels:
      app: mysql
  strategy:
    type: Recreate
  template:
    metadata:
      labels:
        app: mysql
    spec:
      containers:
        - image: mysql:5.6
          name: mysql
          env:
            - name: MYSQL_ROOT_PASSWORD
              value: myrootpassword
          ports:
            - containerPort: 3306
              name: mysql
          volumeMounts:
            - name: mysql-persistent-storage
              mountPath: /var/lib/mysql
      volumes:
        - name: mysql-persistent-storage
          persistentVolumeClaim:
            claimName: mysql-pv-claim
pv.yaml
--- kind: PersistentVolume apiVersion: v1 metadata: name: mysql-pv-volume spec: storageClassName: hostpath capacity: storage: 2Gi accessModes: - ReadWriteMany hostPath: path: /Users/Rajanish/Downloads/Data/Simple --- kind: PersistentVolumeClaim apiVersion: v1 metadata: name: mysql-pv-claim spec: storageClassName: hostpath accessModes: - ReadWriteMany resources: requests: storage: 2GiNote: Pay attention to the PV being used. I have used hostpath to refer the PV’s to use space on my local (host) system. Other options include nfs, csi etc.
service.yaml
apiVersion: v1
kind: Service
metadata:
  name: mysql
spec:
  ports:
    - port: 3306
  selector:
    app: mysql
  clusterIP: None
Next, we are going to need the MySQL container to be set up with a user-defined database at container start-up time. You can use the default databases that MySQL DB ships with OOTB, but for the purpose of this article we are going to leverage ConfigMaps to create a new one for us.
According to the official MySQL DB docker image, the container performs data-initialization at start-up by running all the .sql scripts found in the /docker-entrypoint-initdb.d folder.
Define a ConfigMap Object as below which describes a file initdb.sql with the command to create a database. You can follow up with more SQL commands in this location as you choose to.
apiVersion: v1
kind: ConfigMap
metadata:
   name: "mysql-pod-scripts-cm"
data:
   initdb.sql: |
       CREATE database backuprestore;
Note: The objective is for this ConfigMap to be mounted at the /docker-entrypoint-initdb.d location so that the container at runtime can find and execute the script. We will soon be seeing how to achieve this.
We will now define a separate persistent storage location to store the scheduled backups. To do this add the below PV and PVC code that requests 4GB of storage from the Host system at a different location.
---
kind: PersistentVolume
apiVersion: v1
metadata:
  name: mysql-backup-pv-volume
spec:
  storageClassName: hostpath
  capacity:
    storage: 4Gi
  accessModes:
    - ReadWriteMany
  hostPath:
    path: /Users/Rajanish/Downloads/Data
---
kind: PersistentVolumeClaim
apiVersion: v1
metadata:
  name: mysql-backup-pv-claim
spec:
  storageClassName: hostpath
  accessModes:
    - ReadWriteMany
  resources:
    requests:
      storage: 4Gi
Now let’s create the configuration files that are actually going to perform the heavy lifting; scheduled Backup and on-demand Restore for our container. Again we will be relying on ConfigMaps to achieve this. I know this article is not about how to write the backup and recovery code for a container, because that is going to depend on a variety of factors like:
- Whether it is a file-level backup, restore you are looking for, in which case you could use rsync or cp tools for it.
- To preserve atomicity and consistency you might need to go for programmatic libraries depending on the app/database that you choose to backup/take snapshots and restore from.
In the case of MySQL DB it provides a programmatic way to take hot backups (online backups) of the Database using the inbuilt mysqldump command. And to perform restore from the dump we can use the mysql command line which you will see in the below code segment.
I have divided the ConfigMap to store 3 configuration files namely for the initialization, backup, and restore process. The initialization file here will act as the entry-point to the container (deferring from the default image entry-point). Let us visit each of the files to see what they do.
pod_init script
#!/bin/bash

#We need to install cron and netcat utility to
apt-get update && apt-get install cron netcat -y
# Configure backup script to cron
(crontab -l 2>/dev/null; echo "0 * * * * /pod_tools/pod_backup.sh") | crontab -
#Start the Cron service
/usr/sbin/cron start
## Attempting Pod restore
/pod_tools/pod_restore.sh &
/entrypoint.sh mysqld
The above pod_init script does the following:
- Installs the cron and netcat utility which is needed for cronjob as well as checking the availability of database service.
- Configuring cronjob to run the pod_backup script according to set interval.
- Starting the cron service in the container.
- Invoking the pod_restore script to run in the background
- Run the default entry point script which sets up the MySQL DB according to the MySQL image.
pod_backup script
#!/bin/bash
backup_name=$(date -u +"%FT%H%MZ")
source_directory=/var/lib/mysql_backup
backup_path=$source_directory/backup/$backup_name
mkdir -p $backup_path
mysqldump "$DATABASE_NAME" --single-transaction --quick --lock-tables=false -u root - p"$MYSQL_ROOT_PASSWORD" > $backup_path/backup_dump.sql
## Cleanup older backup folders if more than 10 backups is present
ls -dt $source_directory/backup/*/ | sed -e '1,36d' | xargs  rm -rf
The above pod_backup script does the following
- Creates a directory specified by ‘backup_path’ in the persisted backup mount location i.e /var/lib/mysql_backup
- Uses the ‘mysqldump’ cli command to take the dump of the live MySQL DB.
- Cleanup the oldest backup folder when the number of backups exceeds 36. (We are taking 36 backups)
Note: The Environment variables DATABASE_NAME and MYSQL_ROOT_PASSWORD used above are defined in the deployment.yaml as parameters which you will find in the below subsection.
pod_restore script
#!/bin/bash
source_directory=/var/lib/mysql_backup
if [[ ! -z "$RESTORE_DIR" ]]; then
if [ ! -d "$source_directory/backup/$RESTORE_DIR" ]; then
echo "Specified Restore directory not found"
exit 1
fi
echo "Restore flag is set. Will restore now!"
until nc -z mysql 3306
do
echo "waiting database container..."
sleep 1
done
mysql -u root -p"$MYSQL_ROOT_PASSWORD" "$DATABASE_NAME" < $source_directory/backup/$RESTORE_DIR/backup_dump.sql
if [ $? -eq 0 ]; then
echo "Restore Successful."
else
echo "Restore Failed."
fi
else
echo "Restore flag unset. Skipping Restore."
fi
The above pod_restore script does the following
- Exits the Restore script if the RESTORE_DIR flag is unset
- Exits the Restore script if the RESTORE_DIR is set but could not resolve to a proper directory location.
- Waits until the database is up using netcat utility on the service name (mysql)
- If the database is up it executes the restore from the available dump present in the RESTORE_DIR location.
We have finally reached the last part of the steps where we will stitch the different ConfigMaps and PV’s and Environment Variables to the Deployment object to complete this exercise.
First, let us attach the volume peripherals onto the MySQL DB container (namely the ConfigMaps, backup PV)
Here we are going to see how to mount the ConfigMap scripts as a volume to the container. Append the below code to the ‘volumes’ section of your deployment.yaml.
  - name: mysql-backup-storage
    persistentVolumeClaim:
      claimName: mysql-backup-pv-claim
  - name: mysql-pod-scripts
    configMap:
      name: "mysql-pod-scripts-cm"
  - name: mysql-pod-tools
    configMap:
      name: "mysql-pod-tools-cm"
      items:
        - key: pod_backup.sh
          path: pod_backup.sh
          mode: 0755
        - key: pod_init.sh
          path: pod_init.sh
          mode: 0755
        - key: pod_restore.sh
          path: pod_restore.sh
          mode: 0755
Next, append the below code to the volumeMounts section of the container
  - name: mysql-backup-storage
    mountPath: /var/lib/mysql_backup
  - name: mysql-pod-tools
    mountPath: /pod_tools
  - name: mysql-pod-scripts
    mountPath: /docker-entrypoint-initdb.d
Explanation
What we are doing in the above code is binding the ConfigMaps which we have defined onto the container as volumes. Now because the pod_init, pod_backup and pod_restore scripts are going to be directly invoked in the container it needs special executable permission which we assign by setting the mode parameter to 0755 for each of the files.
Define the necessary environment variables in the 'env' section of the container.
  - name: DATABASE_NAME
  value: "backuprestore"
  - name: RESTORE_DIR
    value: "<DIRECTORY_TO_RESTORE_FROM>"
  - name: MYSQL_ROOT_PASSWORD
    value: myrootpassword
Note: The RESTORE_DIR variable acts as the conditional/on-demand flag over here. It should be set only when you want to trigger a restore and omitted otherwise.
We now need to use pod_init script as the default entrypoint and defer from calling the default-entrypoint from the container image. We do this by setting up the required script to invoke in the command[] and args[] block of the deployment file.
Add the below code in the 'container' section of the deployment yaml.
  command: ["/bin/bash"]
  args: ["-c", "/pod_tools/pod_init.sh"]
Now I hope the above snippet answers one of the questions - the ConfigMaps mount to the pod happens before the Container startup time which is why we are able to execute it as the entry point.
Finally putting it to the test
To validate that the DR procedure is working as expected let us perform a DRY RUN as below
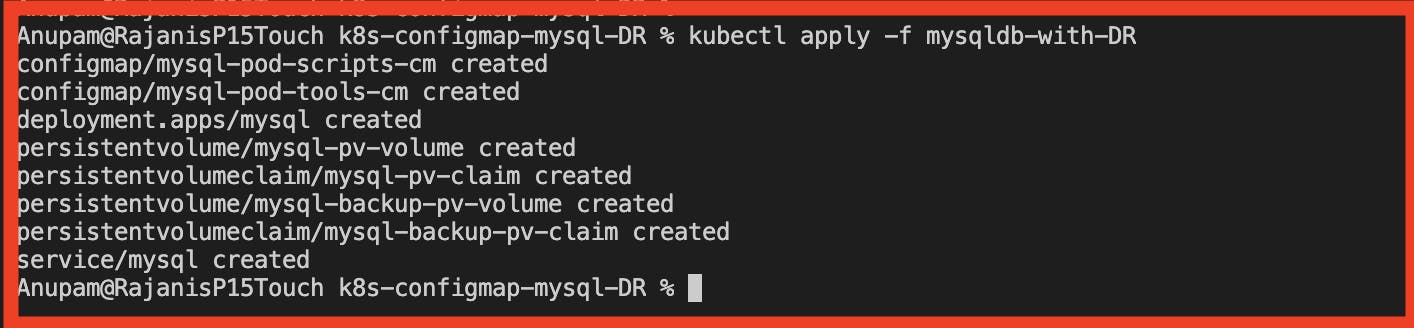
Execute the bundle of Kubernetes configuration files
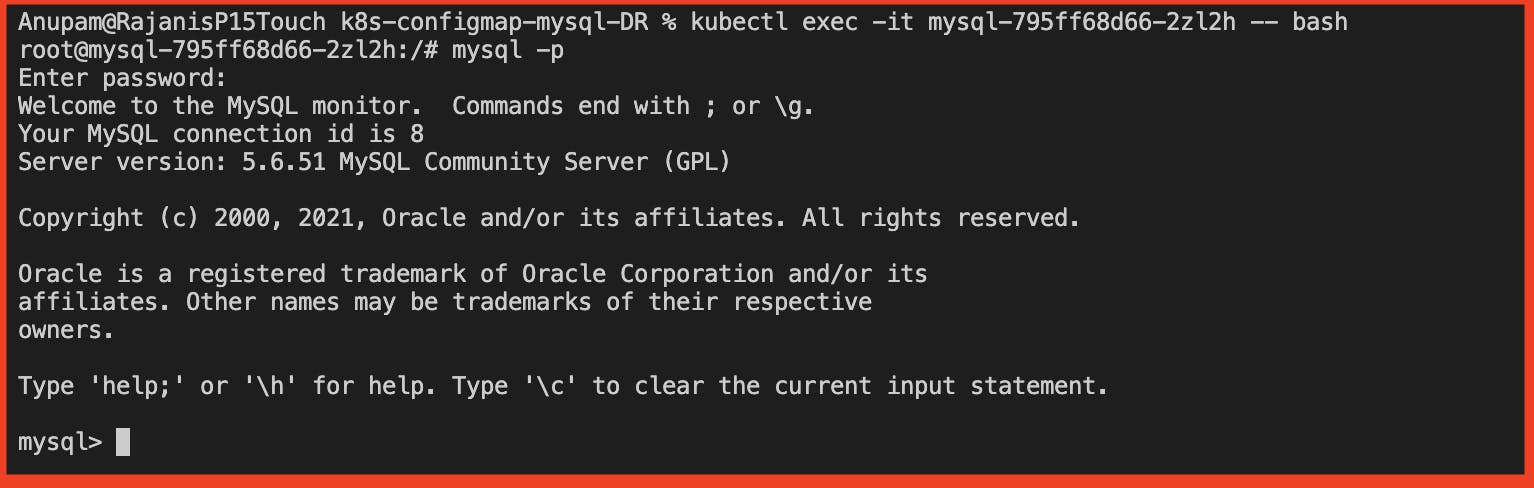
Log into the container and enter the mysql CLI interface and when prompted enter the password that was set.
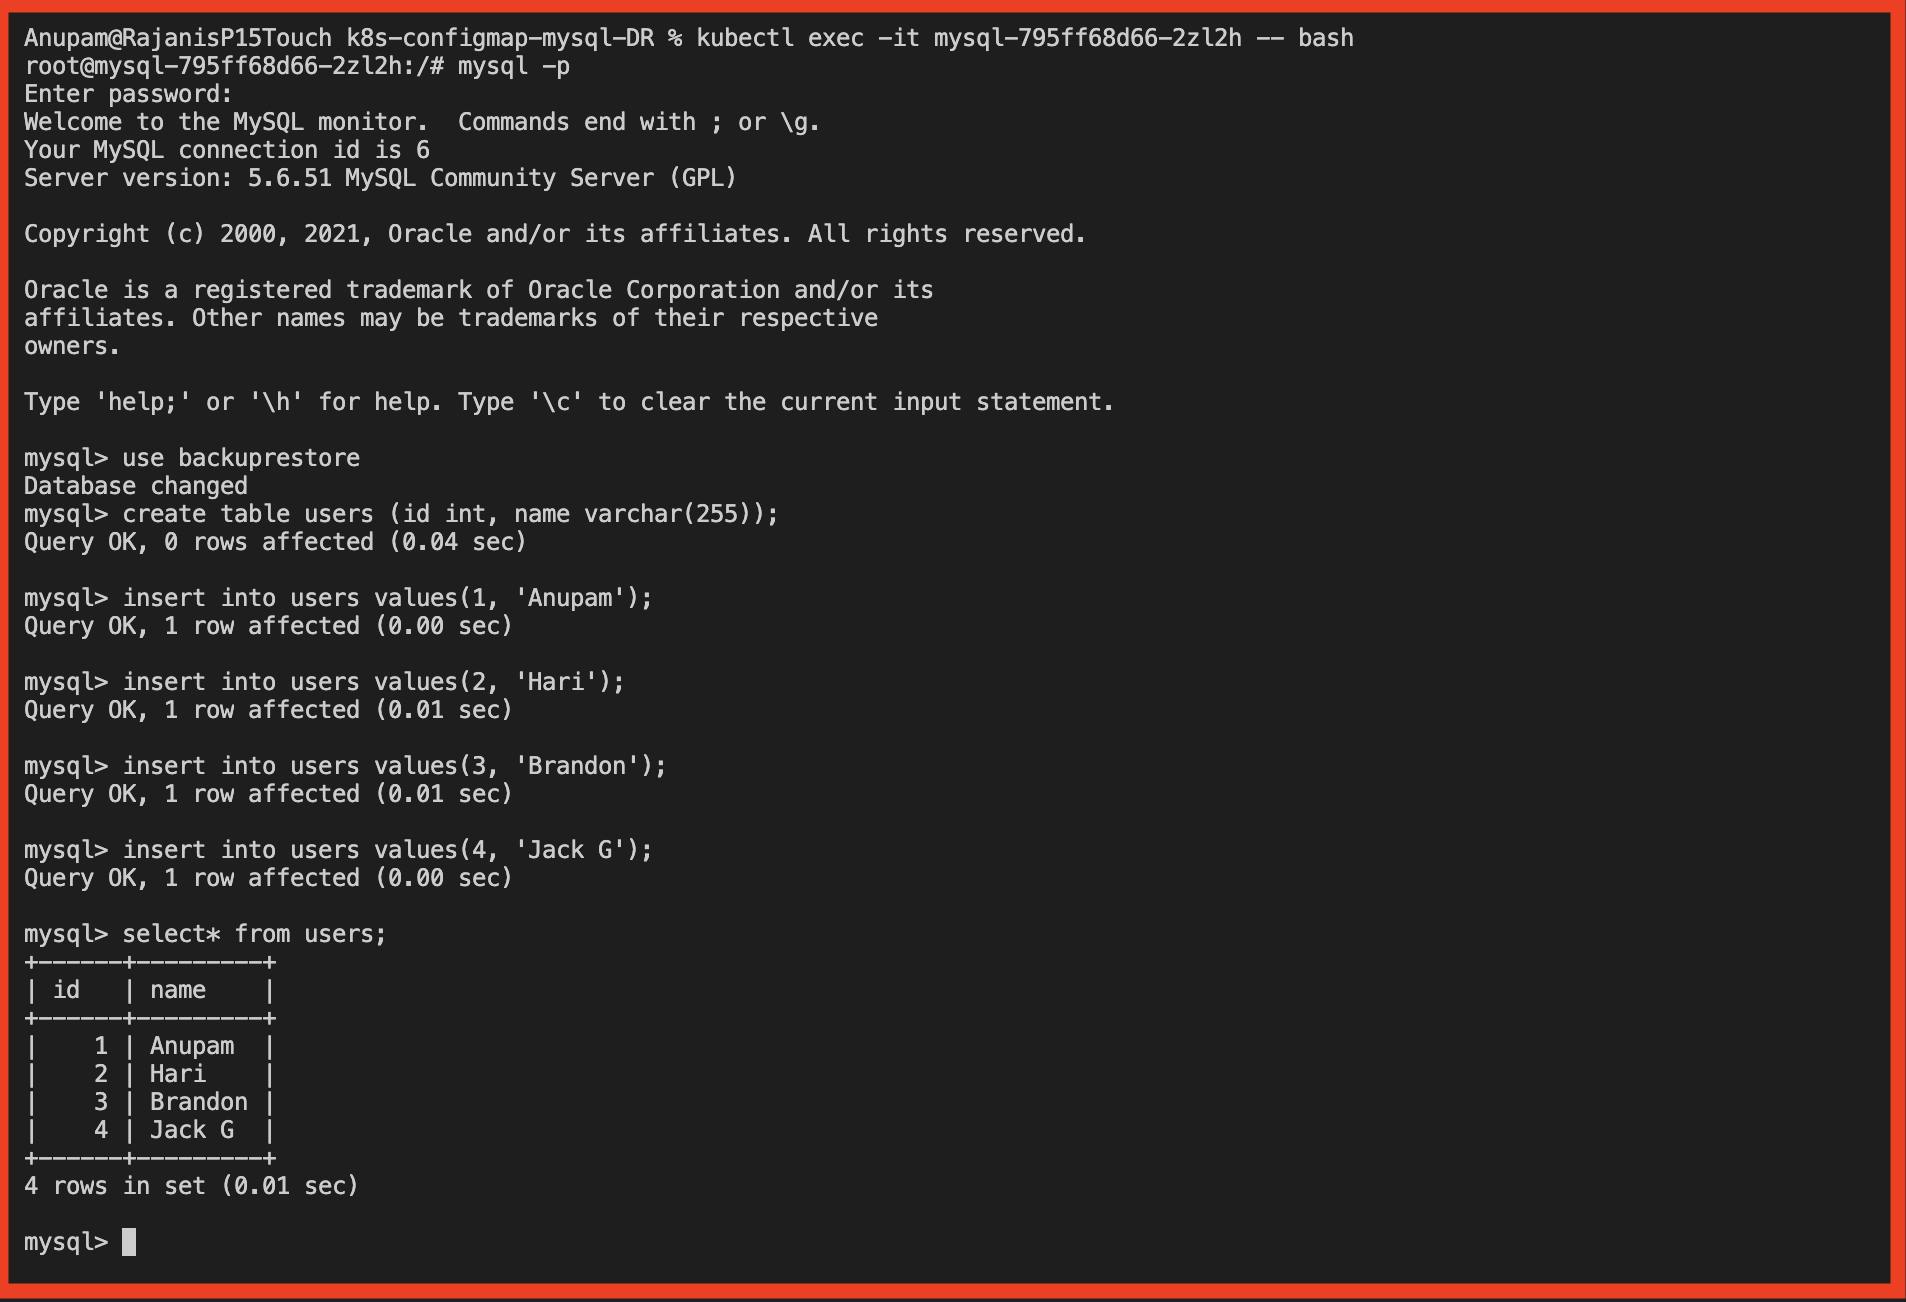
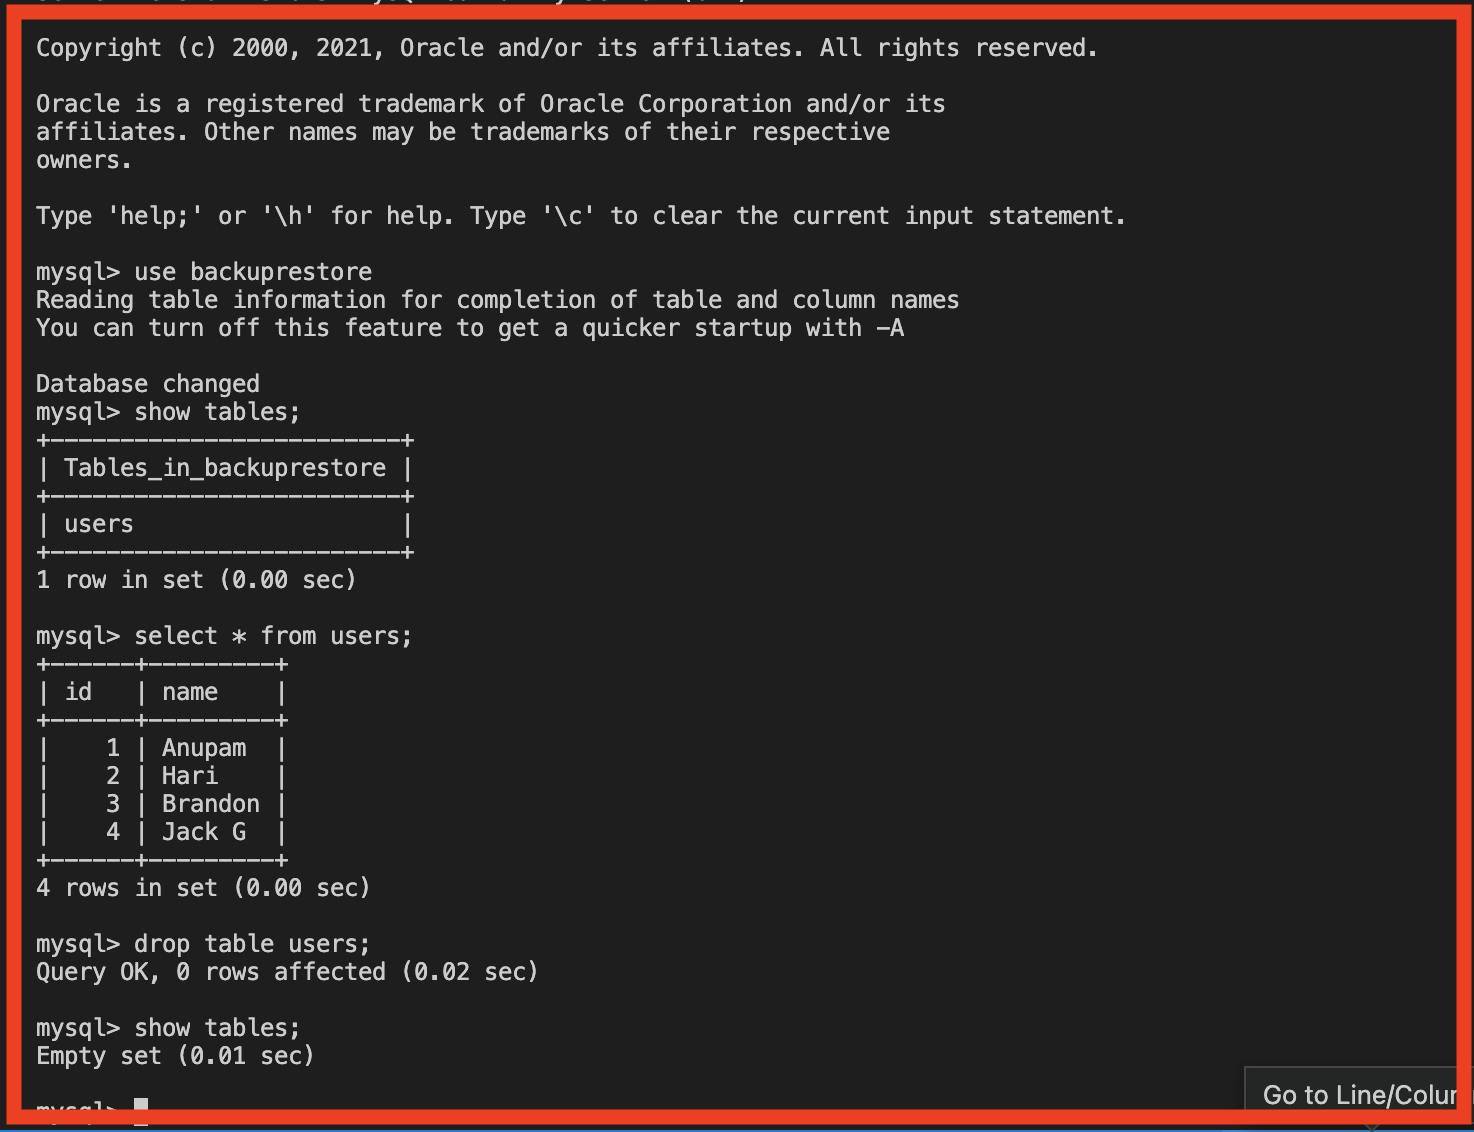
Choose the created database and perform some creation and insertion queries
Knowing that at least a single backup interval has successfully passed let us go ahead and delete the created entity just to simulate the event of disaster/ corruption.
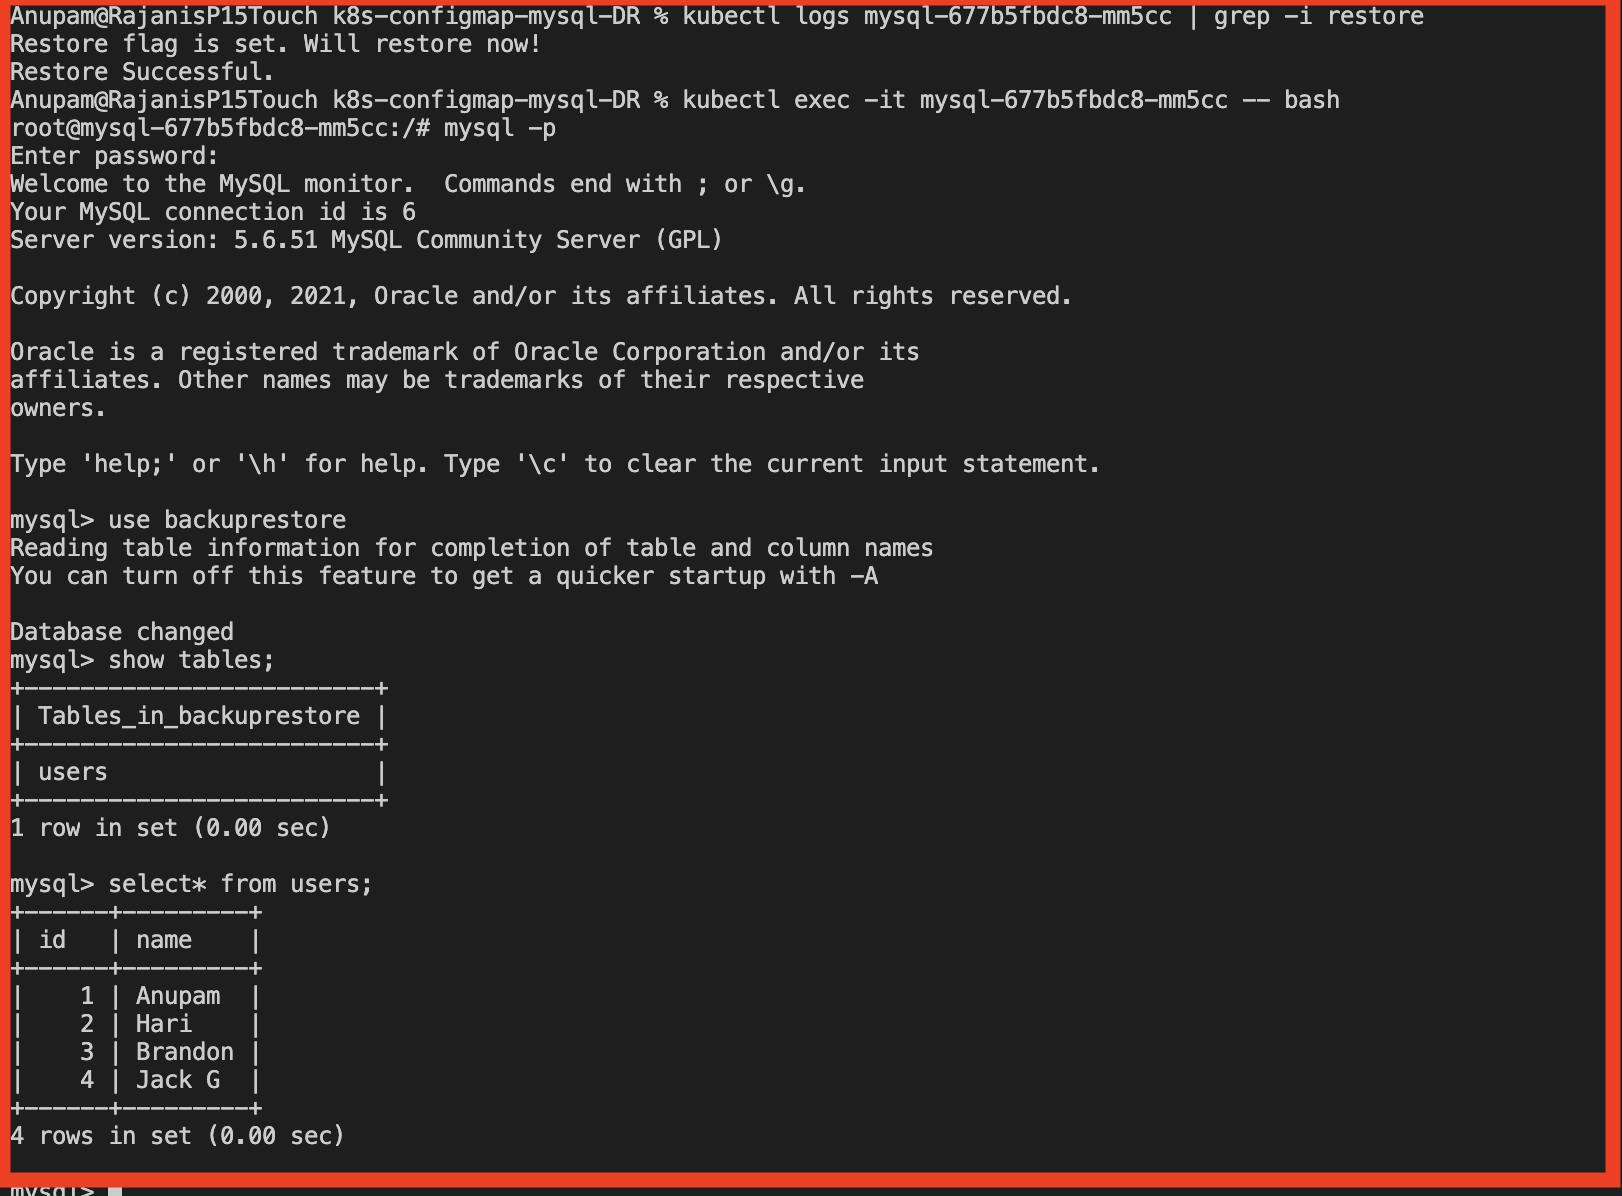
Next, bring DOWN the deployment, specify the value of restore folder in ENV, and again bring UP the deployment.


Sure enough, we can observe that the restore was successful and the lost data is now recovered.
Notes
This article was aimed at highlighting the practices in using the Kubernetes ConfigMaps. The underlying example used to set up a complete Backup and Recovery scenario fully detached and with minimal effort proves how versatile its applications can be.
You can find the Source code used in the article here github.com/k8s-configmap-mysql-DR.
Footnotes and References: